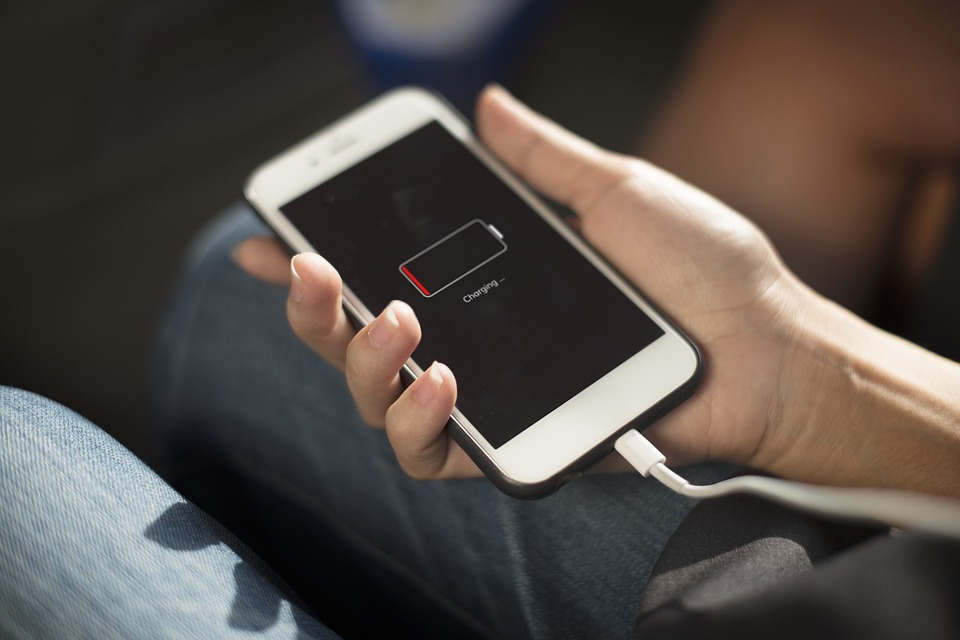
If your iPhone won’t charge, there is no need to panic. Many users have faced this problem and there are lots of solutions that you might try at home. Most probably, the reason for it is not a broken or dead phone battery. So keep reading those phone-fix tips and test them, step-by-step, making sure that you go from the first to the last point, accordingly:
- The hard reset
- Check your lightning cable
- Try a different iPhone charger
- Brush your iPhone’s charger port
- DFU mode and restore
But before you try anything…
As we mentioned, the idea that a mobile phone battery is dead is one of the most common thoughts that Apple users are having when it comes to this issue. But most probably, your phone is not working because of its software, not hardware and lots of times iPhone battery replacement would be the wrong idea that won’t have an effect.
If you go through listed options and your phone still isn’t running, that might be the right time to start thinking that the battery is the problem and to try finding a reliable and professional mobile phone repair shop. Don’t worry! Even in that worst-case scenario, OzPhoneRepairs will be here to help.
1. The hard reset
Sometimes the problem can be fixed surprisingly easy – with the hard reset. Here is how to do it:
- iPhone 8, 8 Plus, X, XR or XS Max
Quickly press and release the Volume Up button and then do the same for the Volume Down button. Now press and hold down the Power button until you see an Apple logo appear on your phone’s screen. Once you see it, the problem is solved! - iPhone 7 or 7 Plus
Press and hold down on both the Power button and the Volume Down button until you see the Apple logo. - iPhone 6S, 6S Plus, SE, or an older model
Press and hold down on both the Power button and the Home button. Keep holding it together until you see the Apple logo.
Note: The mistake that some people make while trying to hard reset their iPhone is that they don’t hold the buttons down for long enough. Sometimes the process can take up to 20 seconds. However, on iPhone 8 and X, you’ll need to be fast and toggle the volume up and then down before engaging the power button.
Done? Try charging now!
If your phone still doesn’t work, move on to the next step.
2. Check your lighting cable
You are looking at the lightning cable (Apple’s name for your iPhone’s power cable) but how can you tell if there lies the reason why your phone won’t charge?
There are two main areas to check:
- the gold electrical contacts on the end of the power cable and
- the cable itself.
Try looking for any cracks or deep scratches. We are taking our chargers with us all the time and it’s not unusual for them to get damaged. Now take a look along the length of the cable and see if all looks alright. The inner parts of the cable may have short-circuited which would mean that your iPhone’s battery isn’t getting power.
If there are no visible signs of damage, try plugging your iPhone into a USB port on your computer and see if it charges. If not, it’s most likely the charger itself isn’t the problem.
3. Try a different iPhone charger
Try charging with your friend’s or family member’s cable to make sure that the charger is not the problem. Hopefully, your phone will be back to life.
Congratulations! You’ve found the problem!
iPhone warranty
Is your iPhone still under warranty? In that case, the lightning cable is also covered and Apple will replace it for free.
One of the not-so-rare reasons why an iPhone won’t’ charge is the low quality of charger cables. There are also high-quality fast chargers that can be found out there, but you have to be careful while choosing them. The maximum Apple-approved amperage for iPhone chargers is 2.1 amps.
But what if you keep looking at the black screen, although it all seems well with your cable?

4. Brush your iPhone’s charging port
Find a good light and check your charging port as well. Your iPhone’s charging port has about 9 connectors in there and they can be blocked by dirt that has accumulated inside. If there is anything that you can see, maybe that’s the reason why your phone can’t receive the charging input. That’s a pretty sensitive area and the best idea is to use a (new, non-wet) toothbrush. It won’t conduct an electric charge or damage the electronics in the bottom of it.
- Gently brush out your iPhone’s charging port
- Repeat
- Try charging your iPhone again.
5. DFU mode and restore
Some of you have solved the problem already, and we’re glad we helped, but for the other ones that are still struggling, there is one more solution – the DFU restore.
it’s a fancy term for factory reset that will basically wipe your iPhone back to its first run settings, as the first day you took it. Make sure that you backup your photos and contacts if you still want to have them after the restore.
- Plug in your iPhone into your computer and open iTunes
- Press and hold the Power button and the Home button together for 8 seconds
- Release the Power button but keep holding the Home button down until you see the message on iTunes: “iTunes has detected an iPhone in recovery mode.”
- Release the Home button.
- If your iPhone’s screen is fully black that means that you are in DFU Mode. If you are still not there, try doing it all again from the beginning
- Now restore your iPhone using iTunes.
Backup
No matter what happens to your phone, It’s good to save your data and make sure that everything is safe. Having an iMac or MacBook will make this process pretty simple for you. Just use lightning cable, and backup your iPhone to iTunes and follow the import options in iTunes.
Your iPhone still won’t charge?
You have followed all of these steps and your phone still won’t charge? That’s really unfortunate and the only thing you can do is consider iPhone repair and go to the nearest Apple Store or contact us for help.